If you're a Mac user and need to take a screenshot, you're in luck because macOS has several built-in tools that allow you to capture images of your screen. In this blog, we will cover how to take screenshots on a Mac, including capturing the entire screen, a portion of the screen, and a window.
How to Take a Screenshot on a Mac
To capture a screenshot on a Mac, follow these simple steps:
Press Command + Shift + 3: This captures an image of the entire screen and saves it to your desktop as a PNG file.
Press Command + Shift + 4: This turns your cursor into a crosshair. You can then click and drag to select a portion of the screen to capture. The resulting image will be saved to your desktop as a PNG file.
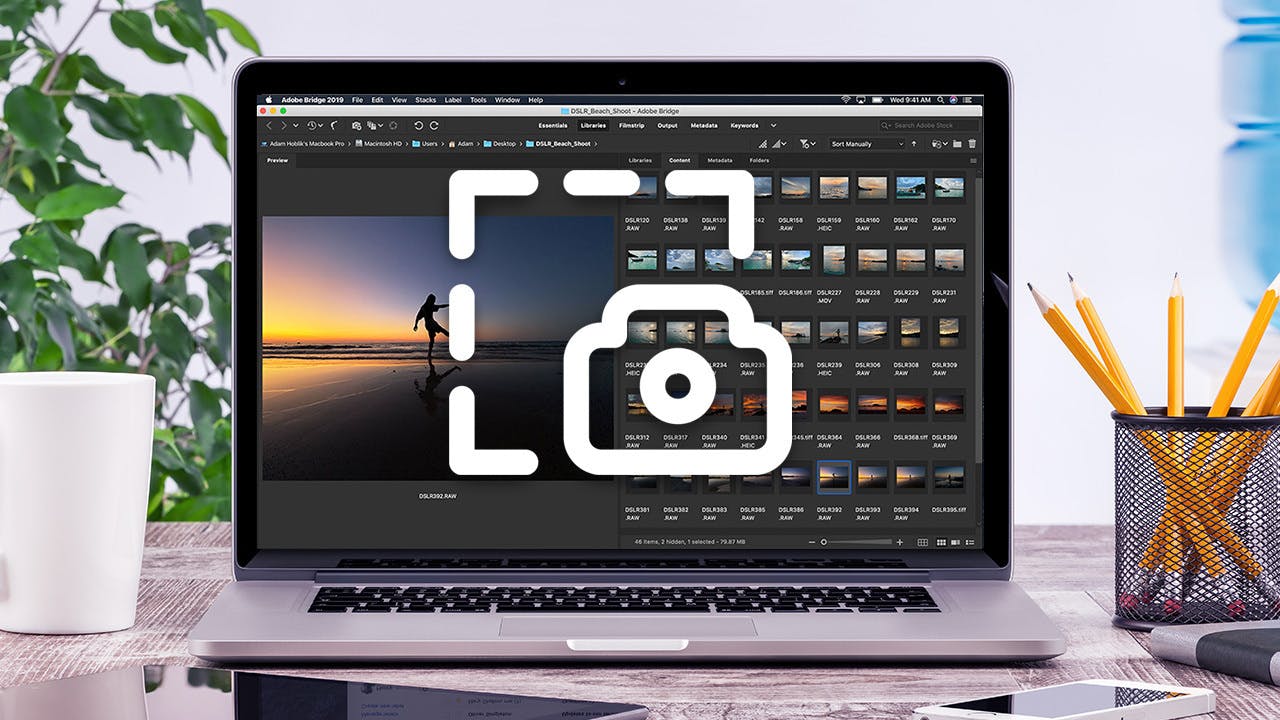
Press Command + Shift + 4, then press the Spacebar: This turns your cursor into a camera icon, which you can use to capture an image of a specific window. Move the camera icon over the window you want to capture, and it will be highlighted in blue. Click to take the screenshot, and it will be saved to your desktop as a PNG file.
How to Take a Screenshot with Keyboard Shortcuts
If you don't want to use your mouse to take a screenshot, you can use keyboard shortcuts instead. Here are some common shortcuts:
Command + Shift + 3: Capture the entire screen.
Command + Shift + 4: Capture a portion of the screen.
Command + Shift + 4, then Spacebar: Capture a specific window.
Command + Control + Shift + 3: Capture the entire screen and copy it to the clipboard.
Command + Control + Shift + 4: Capture a portion of the screen and copy it to the clipboard.
How to Take a Screenshot with Preview
Preview is a built-in app on Mac that allows you to view and edit images. You can also use it to capture screenshots. Here's how:
Open Preview: You can find it in the Applications folder or by searching for it in Spotlight.
Click File > New from Clipboard: This will create a new image with the contents of your clipboard.
Click File > Save: Save the image to your desired location.
How to Take a Screenshot with Third-Party Apps
If you need more advanced features than what is offered by macOS's built-in tools, there are several third-party apps you can use. Here are a few examples:
Xclippy: A tool that allows you to copy your clipboards and capture images
Snagit: A popular screen capture tool that allows you to capture images and videos. It also includes editing tools and the ability to share your captures.
Lightshot: A lightweight screen capture tool that allows you to capture images and share them quickly.
Monosnap: A free screen capture tool that allows you to capture images and videos. It also includes editing tools and the ability to share your captures.
Conclusion
Taking a screenshot on a Mac is simple and can be done using several built-in tools or third-party apps. By following the steps outlined in this blog, you should be able to capture images of your screen quickly and easily.
Updates delivered to your inbox!
No spam - unsubscribe at any time!
- subscribers
More articles
If you enjoyed this article, you will find these insightful too!