How to use snipping tools on Mac
September 16, 2022
•
––– views(Updated on December 19, 2022)

Screenshots have become so ubiquitous nowadays that we don’t give them too much thought anymore. Yet every day we use them to show, explain, and communicate. Whether it’s sending an image of a software bug to customer support, a quick how-to GIF to a colleague, or a heartfelt joke to a loved one, screenshots help us enrich and liven up our daily communication.
Naturally, for creating and editing screenshots, Windows PC has its widely respected Snipping Tool. In fact, if you’ve recently switched your PC for Mac, at some point you’re guaranteed to wonder where and what is Snipping Tool for Mac.
Rest assured, you’re not left without screenshots forever. A snipping tool for Mac does exist. Moreover, just like on Windows, it’s built right into the operating system — which is the answer to the common question of where to download snipping tool for Mac.
macOS snipping tool is so baked into the operating system that it doesn’t even have a name. It just … well, works, mirroring the Snipping Tool you’ve grown accustomed to on Windows almost to a T. Plus, there’s not just one snipping tool on Mac — there are dozens. Below, we’ll compare the default screenshot snipping tool Mac offers to its Windows alternative, and introduce third-party tools like CleanShot, Dropshare, and Capto as well.
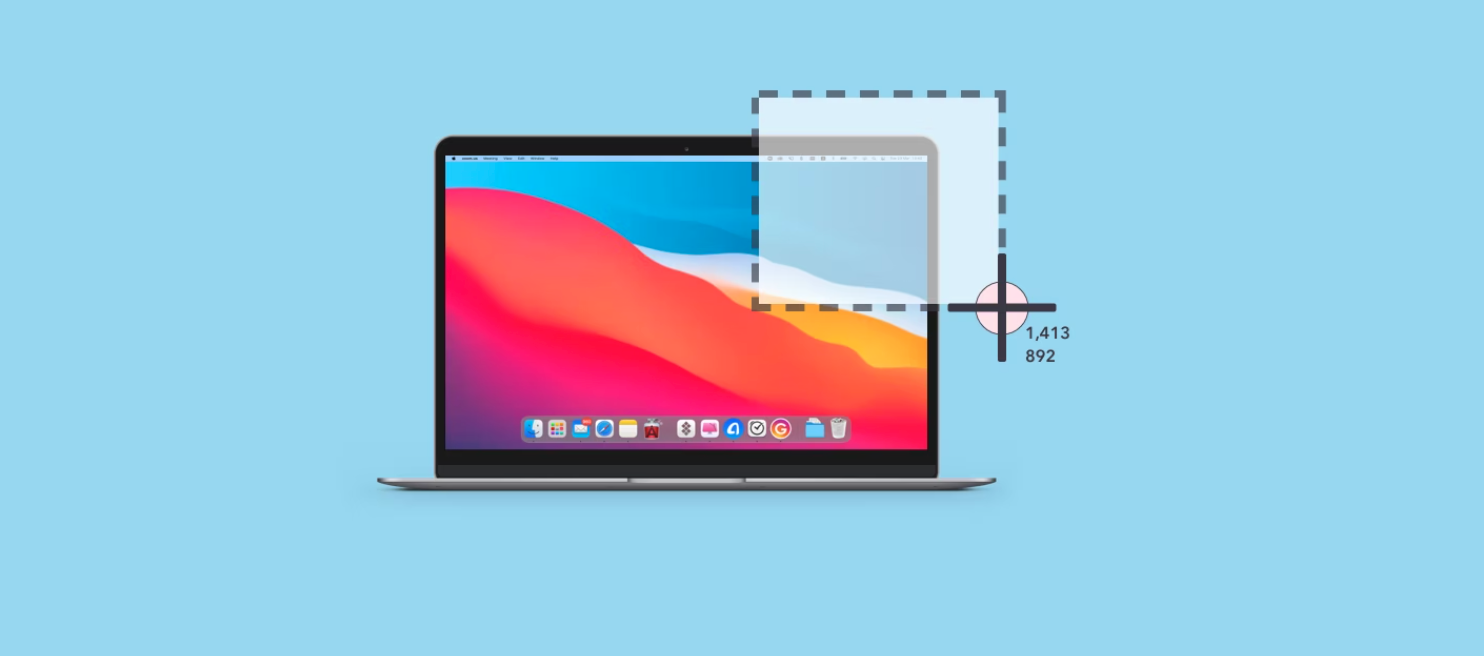
Even if you don’t use keyboard shortcuts much, you probably know one or two that let you take screenshots. There are different options on how to take a snip on Mac. You can use a specific shortcut for each type of screen capturing — area, window, entire screen, etc. Or, you can start with a shortcut that opens the macOS snipping tool menu and choose the best option there.
Where do your screen snips go? By default, every screenshot you create is saved to Desktop. To change the location, press ⇧⌘5 to open the snipping tool menu > Options > Save to. Let’s dive a bit deeper into what shortcuts you should keep in mind to make the most of the macOS snipping tool.
What is the macOS snipping tool shortcut? The shortest answer to “how to snip on Mac?” is to press ⇧⌘5. The shortcut calls up a small menu in the lower part of the screen with lots of options to choose from.
This menu first appeared in macOS Mojave in 2018. Before then, Mac users were limited to either using ⇧⌘3 to take a screenshot of the whole screen or ⇧⌘4 to select an area (these shortcuts still work the same). If you’re using one of the macOS versions before Mojave, make sure to update to the latest macOS available to make full use of the snipping tool on Mac.
So the menu for the Mac OS snipping tool features the following options:
Besides, there is also an Options dropdown, where you can change where to save the resulting image, set a timer, and choose whether to show the mouse pointer.
Updates delivered to your inbox!
No spam - unsubscribe at any time!
- subscribers
More articles
If you enjoyed this article, you will find these insightful too!